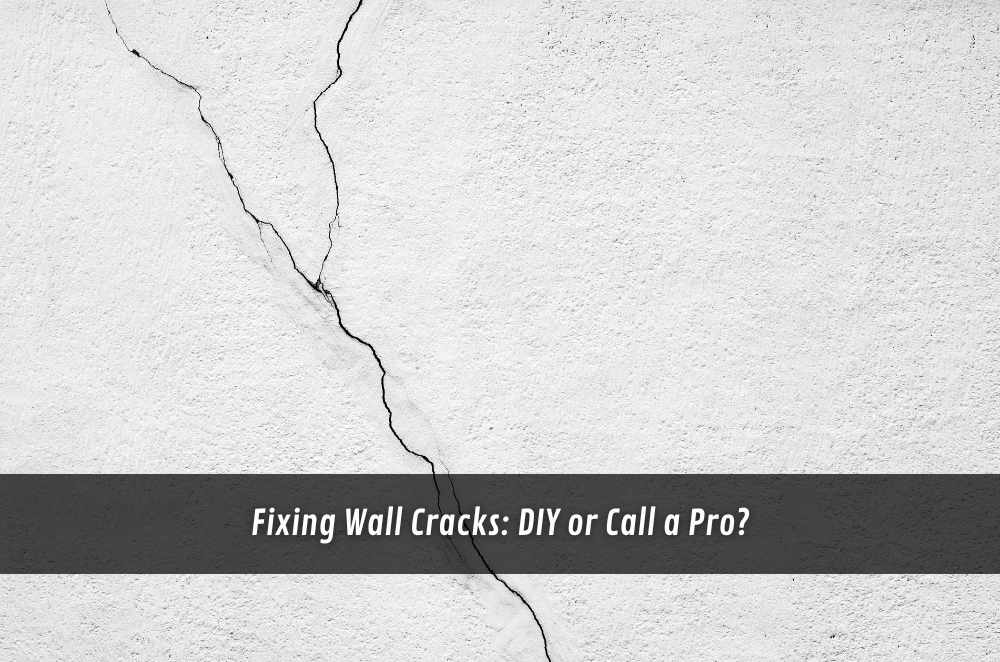
Hairline to gaping—wall cracks make everyone a little twitchy. The trick is telling which ones are cosmetic and which hint at movement, moisture, or tired render. If you’re in Sydney and weighing up next steps, start by shortlisting specialists who do this work all day. For a quick sense-check, browse wall crack repairs in Sydney and then use this guide to decide what you can fix yourself—and when to call a pro.
How to read a crack (before you touch it)
Start with four cues: width, direction, location, and context.
Hairline (≤0.2 mm): Often cosmetic—shrinkage of plaster, paint tension, or minor seasonal movement.
Tapered diagonal from corners: Watch these; door/window corners concentrate stress.
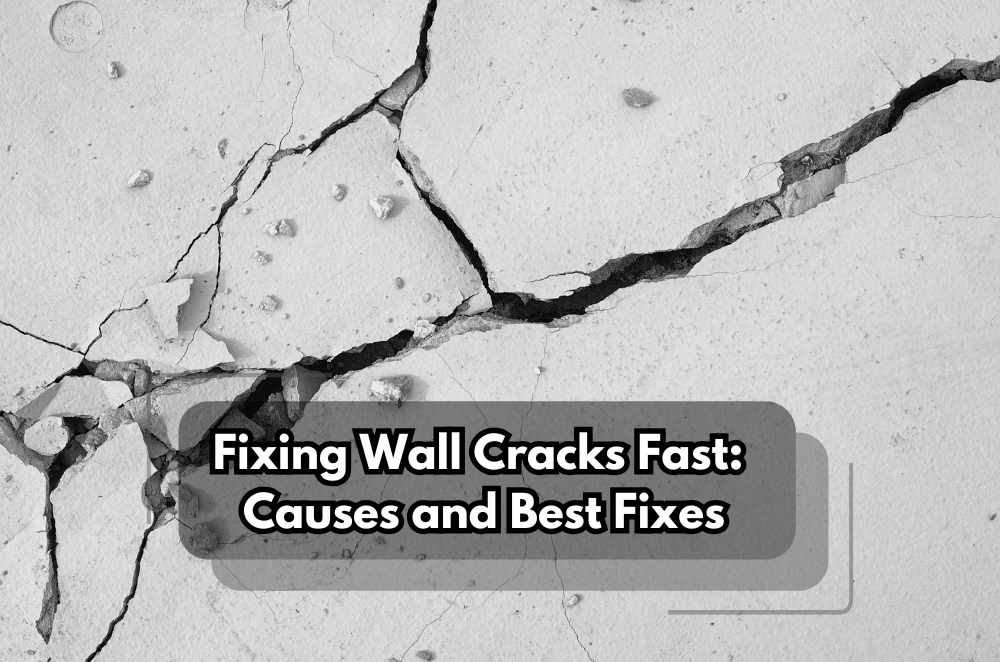
Stepped cracks in brick/render: Can suggest foundation movement or moisture; don’t rush the filler yet.
Context clues: Recent reno, roof leaks, blocked gutters, or next-door excavation? Note it.
A cheap crack gauge (or even sticky notes and dates) lets you log change over a fortnight. Growing cracks, doors that start to catch, or new gaps after rain—those patterns matter.
When DIY makes sense (and when it doesn’t)
DIY-friendly
Stable hairlines in plaster or paint films.
Settlement lines that haven’t changed in months.
Minor render crazing without drummy (hollow) sounds behind.
Call a pro
Widening or recurring cracks after you’ve patched once.
Cracks aligned with moisture issues (stains, musty smell).
Stepped brick/render splits or anything over ~2 mm that keeps growing.
Drummy render—sounds hollow when tapped; patching over will fail.
Safety note: if you suspect structural movement or you can see daylight through masonry, pause and escalate to a licensed builder/engineer assessment.
The right repair method for the problem (not the photo)
One-size-fits-all filler isn’t a plan. Align method to cause:
Paint film/shrinkage cracks: Scrape edges, lightly widen to a V, dust off, apply flexible acrylic filler, sand, prime, repaint.
Gyprock/plaster joins opening: Tape first (paper or mesh), setting compound in two passes, sand, prime, two coats.
Render hairlines: Elastomeric crack-bridging primer or flexible skim, then a compatible texture/topcoat system.
Masonry movement joints: Don’t fill with hard compound; use a flexible sealant and honour the joint.
Through-cracks in brick: Stitching (stainless helical bars set in grout) by a pro; often paired with repointing.
If a quote just says “patch and paint,” ask what system they’re using and why it suits your substrate and climate.
Standards, tolerances, and what “acceptable” looks like
It helps to know what regulators consider normal. For a plain-English overview of acceptable tolerances in residential work (including cracking), see wall crack standards in Australia. While state documents vary, the principles are similar: fine hairlines may be acceptable; recurrent or wide cracks usually aren’t and should be investigated.
Prep is 80% of the job (here’s the short list)
Good repairs fail when prep is rushed. Non-negotiables:
Open the crack: create a shallow V so compound keys in—don’t just butter the surface.
De-dust & de-grease: vacuum and wipe; adhesion hates chalk and soap film.
Prime smart: use a sealer/primer compatible with your top coat (stain-blocker over water marks).
Match flexibility: rigid compound under flexible paint = future lines; pair products in a system.
Two quick stories from the field
The harmless hairline that kept coming back: We chased a faint vertical in a hallway three times. Each “fix” failed. The cause? An air-con drain is dripping into plasterboard. Once we rerouted and dried the cavity, the standard tape-and-setting-compound repair held. Moral: find moisture first.
The pretty patch on the drum render: A client painted over a shallow craze. Looked great for a month—then the patch bubbled. The issue was a drummy render across a 1 m² area. We removed the loose section, re-rendered, cured, and repainted. Surface fixes don’t beat hollow render.
DIY kit: Simple and safe
For hairlines and small stable cracks:
Flexible acrylic filler (paintable)
Setting compound + paper/mesh tape (for joins)
Sanding block (120/180/240 grit) and dust brush
Sealer/primer and matching top coat
Masking, drop sheets, PPE (P2 mask for sanding)
If your home predates the 1990s, lead paint may be present under older layers. Avoid dry sanding unknown coatings; wet-sand, capture dust, and keep kids/pets away. If you suspect lead, escalate to a lead-safe contractor.
Render and masonry: Go slow to go fast
External cracks are unforgiving. Focus on cause and compatibility:
Movement vs shrinkage: Movement needs flexible bridging or a joint; shrinkage can accept a rigid repair.
Moisture management: Fix downpipes, flashing, and drip edges before you paint; water wins every time.
System over brand: Primer, base, finish, and any elastomeric layer should be from a compatible system. Ask for the data sheet.
If you’re comparing extended fixes—patching render versus a full repaint—save render crack repair vs. repaint for a deeper planning read.
Structural vs cosmetic (how to tell without guessing)
Run this three-step sanity check:
Measure and monitor: Note width and dates; is it growing?
Check doors/windows: Binding or latching changes?
Weather correlation: Worsens after rain or in a dry spell?
If you’re stuck, a neutral explainer, like structural vs. cosmetic wall cracks, helps you frame the conversation with a builder or engineer.
When to call a pro (and what to ask)
Bring in a specialist if any of these are true:
Crack growth over days/weeks, not years
Moisture staining, musty smell, or salts/efflorescence
Drummy render or spalling brick
Repaired twice and back again
Questions that save pain later:
Diagnosis first: What’s causing it, and how are we proving that (moisture meter, photos, gauge)?
Method & materials: Tape/compound? Stitching? Flexible primers? Which system and why?
Edges and blending: How are you feathering the repair so it doesn’t flash under light?
Guarantee: What’s warranted (adhesion, cracking), for how long, and what’s excluded?
Cost expectations (so quotes make sense)
Ballpark thinking—actual prices vary with access, area, and cause:
Hairline interior patch & paint (per location): low hundreds if bundled into a room repaint.
Join repairs with tape & set (per metre): higher, due to labour and sanding time.
External render cracks: depends on removal, re-render, cure time, and coating system—often quoted by square metre.
Masonry stitching: a specialist line item; more upfront, but the right call when movement is real.
Cheap quotes that skip diagnosis or systems tend to be the most expensive on the second visit.
Final thoughts
Don’t treat every crack like a nail just because you’re holding a tub of filler. Read the signs, fix the cause, then choose a method that matches the substrate and the movement. For Sydney readers wanting a straight-up service overview, keep wall crack repairs handy. For tolerances and “what’s acceptable,” lean on wall crack standards. And if you’re still on the fence about scope or budget, dig deeper into render crack repair vs. repaint and structural vs. cosmetic wall cracks so you can make a call with confidence.


Write a comment ...