
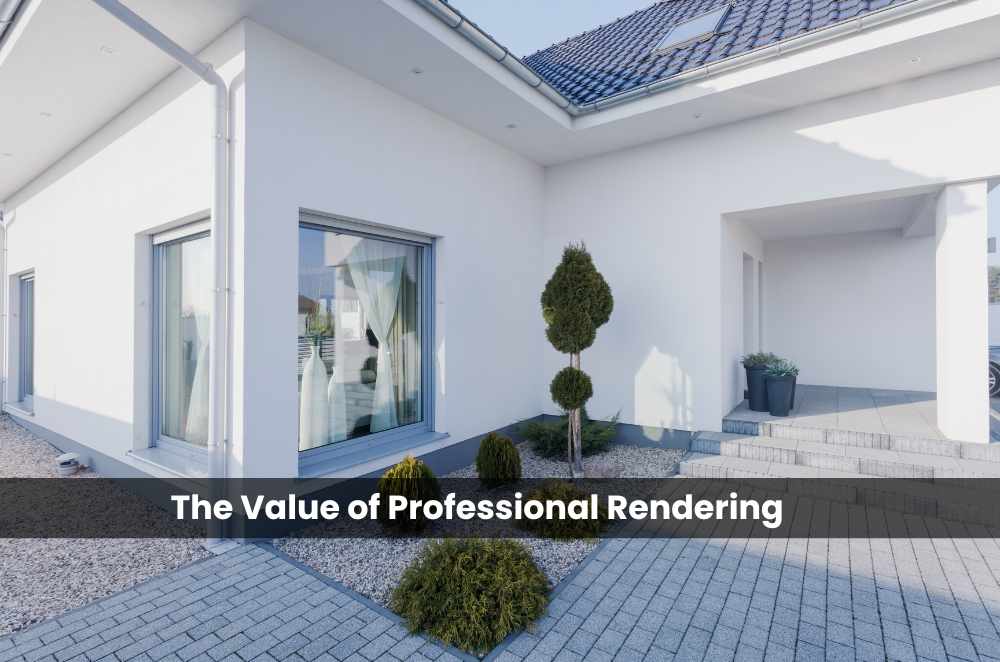
Home rendering lasts when prep, materials, and technique line up. The aim is a durable, weather-tough skin that lifts kerb appeal and improves comfort without fuss. Done right, it protects masonry, limits moisture ingress, and supports thermal performance in Australia’s mixed climates. Results hinge on detail: clean substrates, compatible mixes, and patient curing. Experience matters too, from setting beads to managing joints and timing. For a reliable outcome, many owners look for quality service for all your rendering needs, used naturally, not as a slogan, but as a promise of craft, consistency, and finishes that hold up under sun, salt, and time.
How do you get the best rendering results?
Start with surface prep, compatible mixes, and controlled curing. These steps prevent most failures.
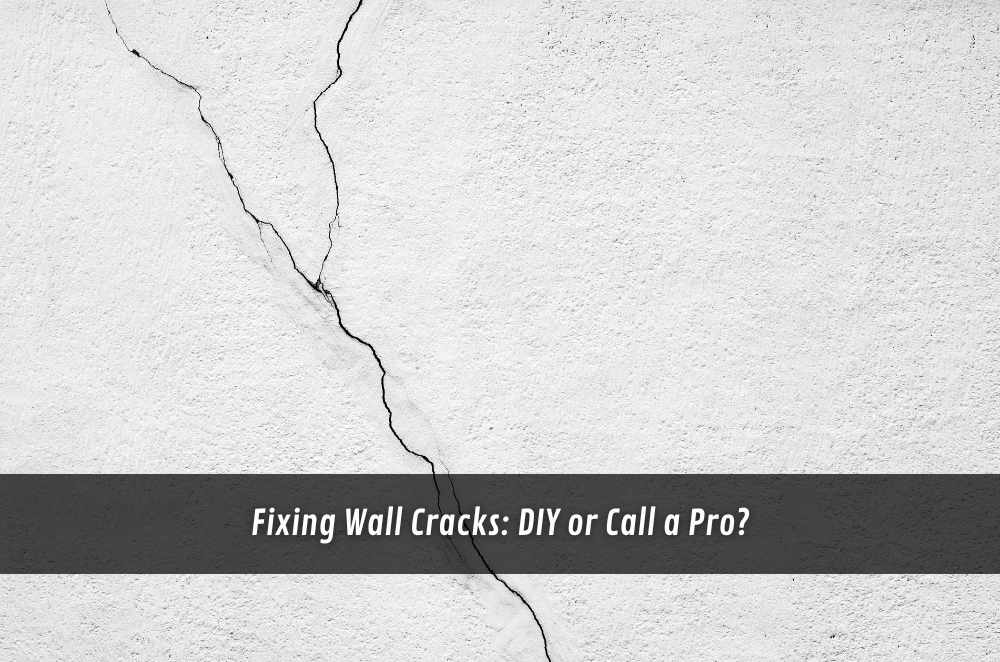
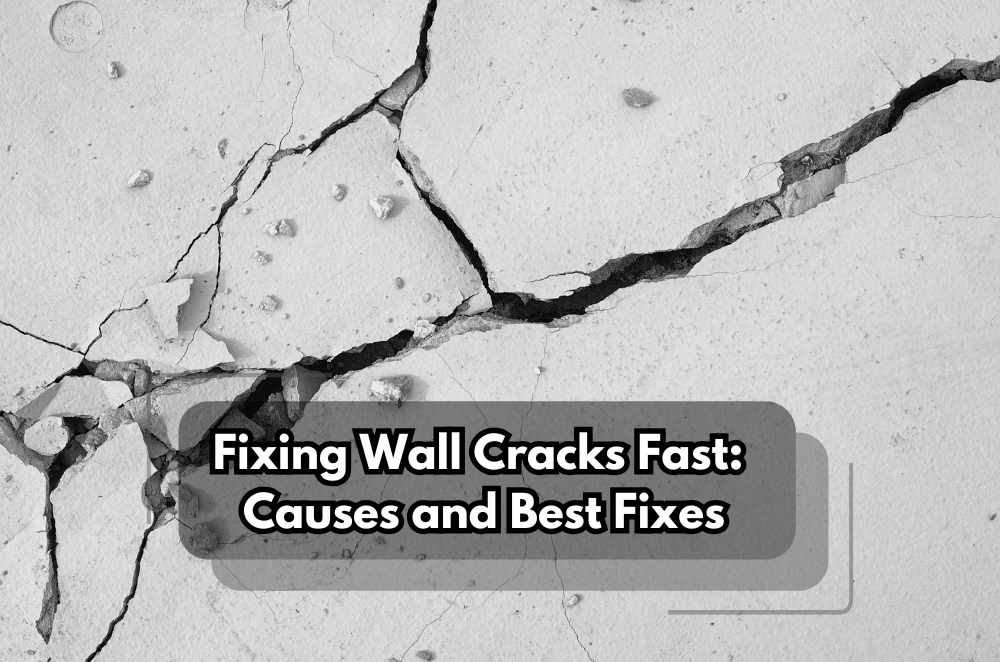
Good projects begin with sound substrates. Clean, dry walls, repaired cracks, and appropriate primers give the render something to bite into. Choose mixes that match the base, and respect cure times to avoid early cracking and colour variation. Material selection and sequencing are unpacked in professional rendering insights, often referenced by experienced crews.
Match render type to substrate.
Prime and mesh at stress points.
Cure slowly, avoid hot, windy afternoons.
Verify details against applicable building codes.
Consensus across trade literature points to prep quality and curing discipline as the main predictors of long-term performance.
Why is rendering more than aesthetics?
Rendering improves weather resistance and supports energy performance. It also limits hairline fractures and reduces maintenance.
Appearance matters, but function carries the load. A continuous render layer helps shed rain, manage micro-movement, and seal porous blockwork. Pairing render with insulation delivers comfort benefits in temperate and hot regions. Mid-discussion is the right place to note that experience shows in flat planes, clean arrises, and consistent texture across elevations and trims.
Climate exposure, including sun, salt, and wind
Vapour permeability versus water resistance
Thermal bridging around windows and eaves
Paint systems compatible with the render chemistry
Industry handbooks and field testing repeatedly highlight moisture control, movement accommodation, and system compatibility as core to durability.
What mistakes should homeowners avoid with rendering?
Don’t render over damp, dirty, or moving substrates. Don’t rush curing or skip expansion details.
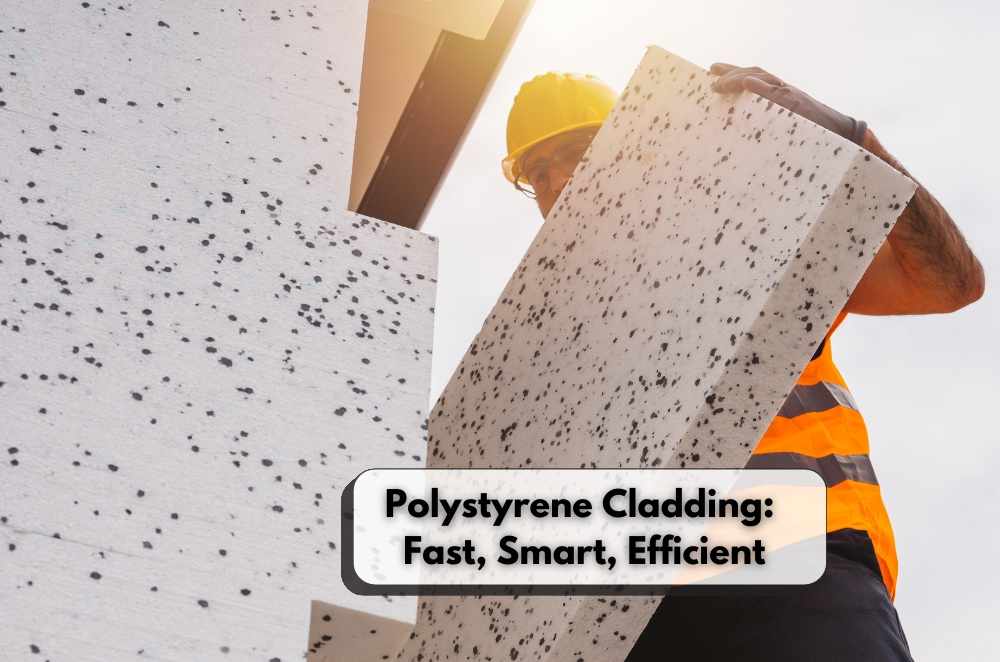
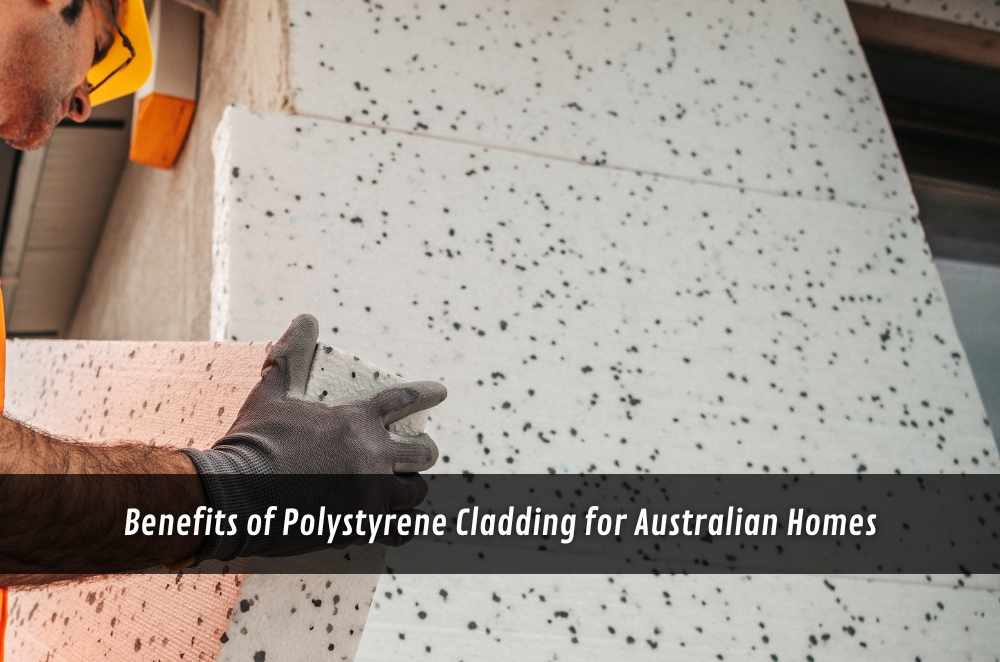
Shortcuts usually show up as delamination, crazing, or patchy colour. Expansion joints need continuity, corners may need mesh reinforcement, and coastal settings call for careful salt management. Material choice matters too. Insulated systems demand compatible fixings and finishes; for example, EPS cladding for efficiency aligns thermal goals with a render-ready surface when detailed correctly.
Applying in direct heat or strong wind
Using one mix across all substrates
Ignoring drying times between coats
Skipping sealers in high-exposure areas
Trade case studies consistently trace failures back to poor prep, mismatched materials, or rushed schedules rather than exotic technical faults.
Conclusion
Rendering pays off when detail meets discipline. Solid prep, smart material choices, and patient curing create a protective skin that looks sharp and stands up to Australian conditions. Over the long haul, that discipline means fewer call-backs, longer repaint cycles, and steadier indoor comfort. Well-detailed corners, joints, and sealers resist salt, sun, and seasonal movement, keeping façades tidy without constant touch-ups. It’s a practical upgrade that supports resale value while keeping maintenance predictable.


Write a comment ...