
Hiring local rendering services isn't just about the price
A few years ago, I made the mistake of choosing a renderer based solely on a cheap quote from someone I found online. No reviews, no site inspection, just a few quick texts and a handshake. Within 12 months, the render had started flaking off in patches, and because I never got a proper contract, I couldn’t even chase him for repairs.
That experience taught me a lesson many homeowners learn the hard way: finding local rendering services for house rendering solutions isn’t just about convenience — it’s about trust, quality, and long-term durability.
If you’re looking to render your home, here’s what you really need to know before signing a contract.
Understand the type of rendering you need
Rendering isn’t one-size-fits-all. The right finish depends on your home’s material, age, climate zone, and style.
Here are some common types:
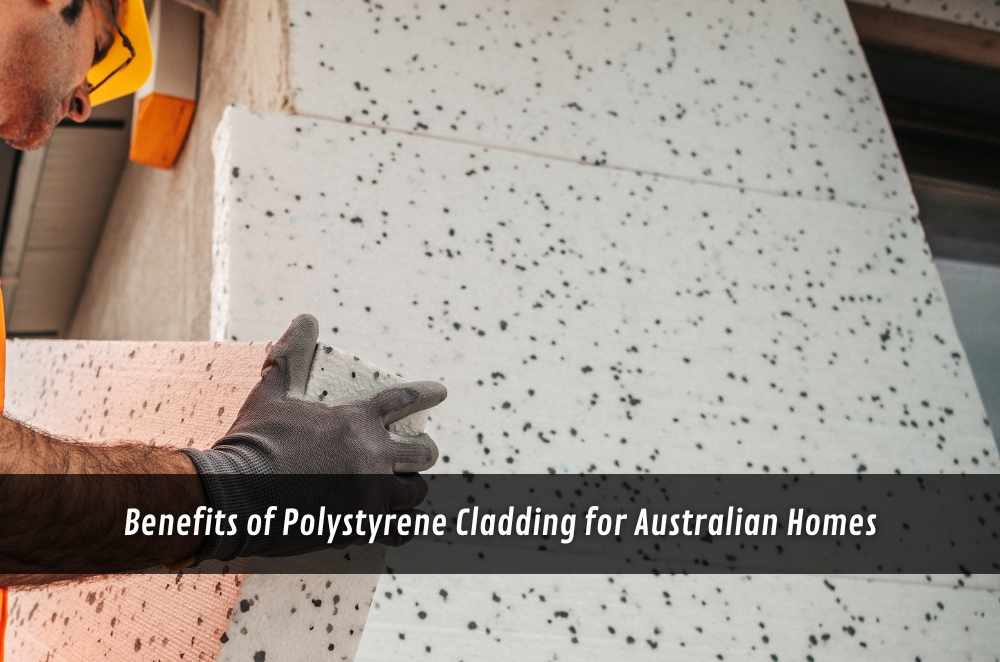
Cement render: Durable, budget-friendly, and good for exteriors — but prone to cracking without proper application.
Acrylic render: Flexible and weather-resistant, often used on modern homes or over cladding systems.
Polymer-modified render: Offers added flexibility and adhesion — great for complex surfaces.
Lime render: Traditional and breathable, ideal for heritage homes or older brickwork.
Before you start calling tradies, figure out what kind of render your job needs. Ask a builder or architect if you're unsure — this can save you from getting upsold or misquoted.
Understand local compliance and care requirements
Rendering isn’t just an aesthetic update — it’s part of your building’s protection system. That includes moisture control, external surface durability, and long-term weather resistance.
When comparing quotes, ask whether your renderer follows your council’s building maintenance standards, especially for external finishes.
The City of Sydney’s official maintenance guide is a good example of what responsible upkeep looks like. It highlights the importance of regular inspections, drainage clearance, and materials that meet long-term performance needs.
If your renderer doesn't raise these points, that’s your cue to ask.
Ask about experience, and actually look at past jobs
Anyone can say they’ve been rendering for 15 years. But can they show you?
When you’re hiring a renderer:
Ask to see before and after photos of previous projects.
Request at least two contactable references.
Look for recent Google reviews or feedback on local platforms.
One renderer I spoke to showed me three houses in my area he’d worked on — and even got permission from one homeowner to let me walk the property. That kind of openness gave me real confidence.
Get clear on surface prep — it makes or breaks the job
The best render in the world won’t last if it’s slapped on a dirty or crumbling surface. Before rendering begins, your contractor should:
Clean the surface (pressure wash or chemical wash)
Repair damaged mortar or cracks
Apply primer or bonding agents
Allow for drying time between coats
I’ve seen render fail because the wall was damp when the base coat was applied. Trust me — shortcuts in prep show up later, when it’s too late to fix without redoing the whole job.
Beware of vague or verbal quotes
A common red flag? “Don’t worry, mate, we’ll sort it as we go.” That often means you’re flying blind on cost and scope.
Make sure your renderer provides:
A written quote detailing materials, square meter rates, and scope
Timelines (start, finish, weather contingencies)
Who’s responsible for the cleanup and scaffolding
Payment terms, including deposit, stages, and final sign-off
You’re not being difficult — you’re being smart. A clear contract protects both parties.
Ask the hard questions up front
You should feel comfortable asking:
What products will you use, and why?
How thick will each coat be?
Do you use subcontractors or do the work yourself?
What happens if the render cracks within 6 months?
The best tradies will welcome your questions. Dodgy ones get defensive.
A mate of mine asked a renderer if he’d waterproof under the window sills — the guy responded with, “That’s extra.” That little comment saved him from a bigger headache later. He went with someone else.
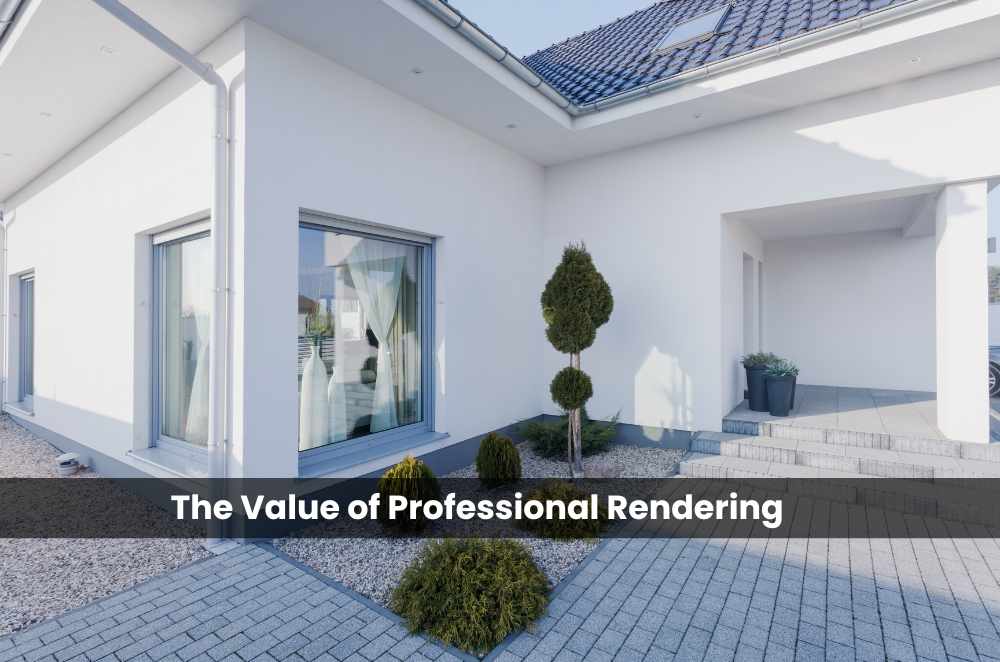
Don’t underestimate the finish
Smooth? Bagged? Textured? Coloured?
The render’s finish can completely change your home’s look and value. Think about:
Smooth finishes – Clean and modern, but less forgiving of surface flaws
Bagged render – Rustic and breathable, popular for brick homes
Textured coats – Durable and lower maintenance, great for external walls
Coloured render – Saves painting, but must be UV-stable
Ask your renderer for sample panels or mockups. If they can’t show you examples, be wary.
Consider aftercare and maintenance
Render needs love. No matter how tough the finish is, it’ll last longer with the right care.
Tips for post-render upkeep:
Avoid high-pressure cleaning in the first 6 months
Check for hairline cracks after wet seasons
Keep garden beds and sprinklers clear of rendered surfaces
Repaint or reseal every 7–10 years, depending on exposure
If you're unsure what your home needs long-term, our guide on choosing the right renderer for your project breaks it down in detail.

Final thoughts
Rendering can dramatically boost your home’s appearance and value — but only if it’s done right. By asking smart questions, comparing more than just price, and choosing a qualified renderer who understands Australian standards, you’ll get results that last.
Want to explore different finishes before committing? Check out this breakdown of different types of house rendering explained.


Write a comment ...